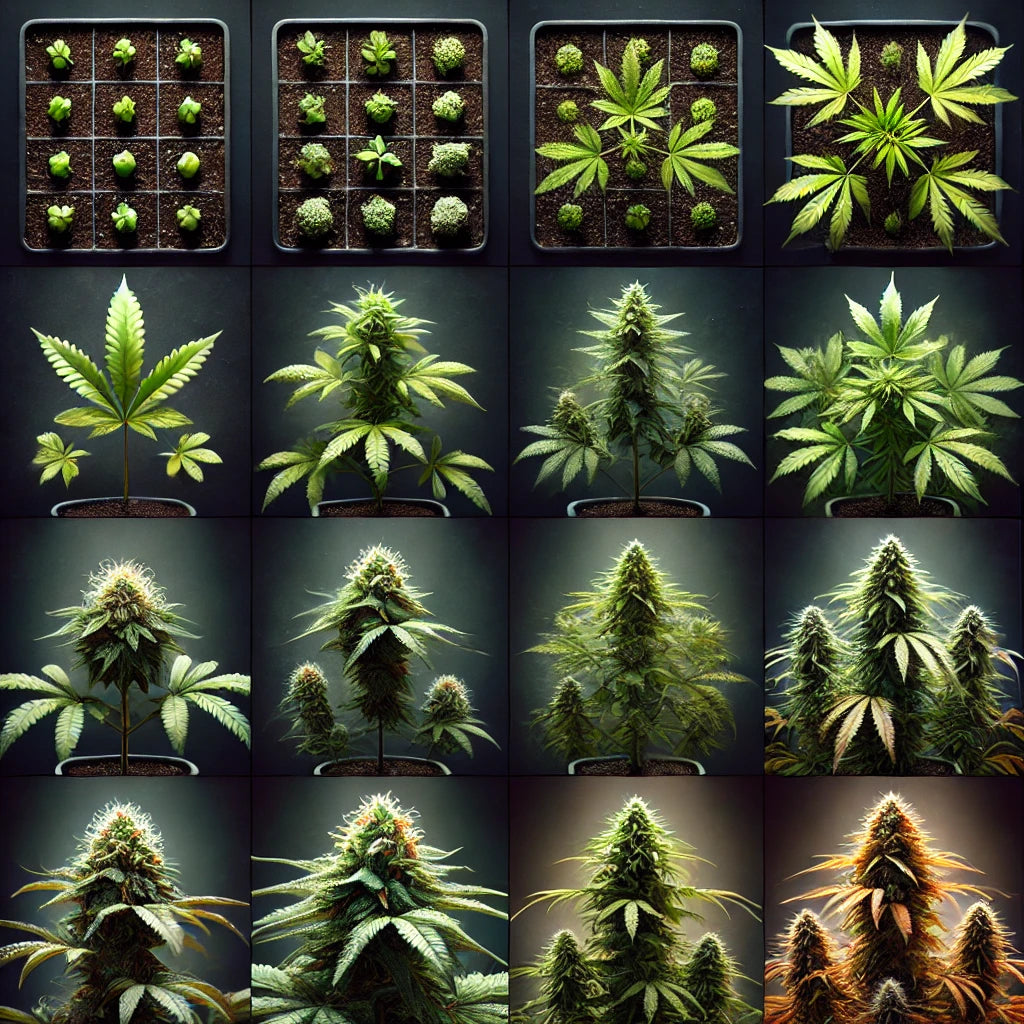


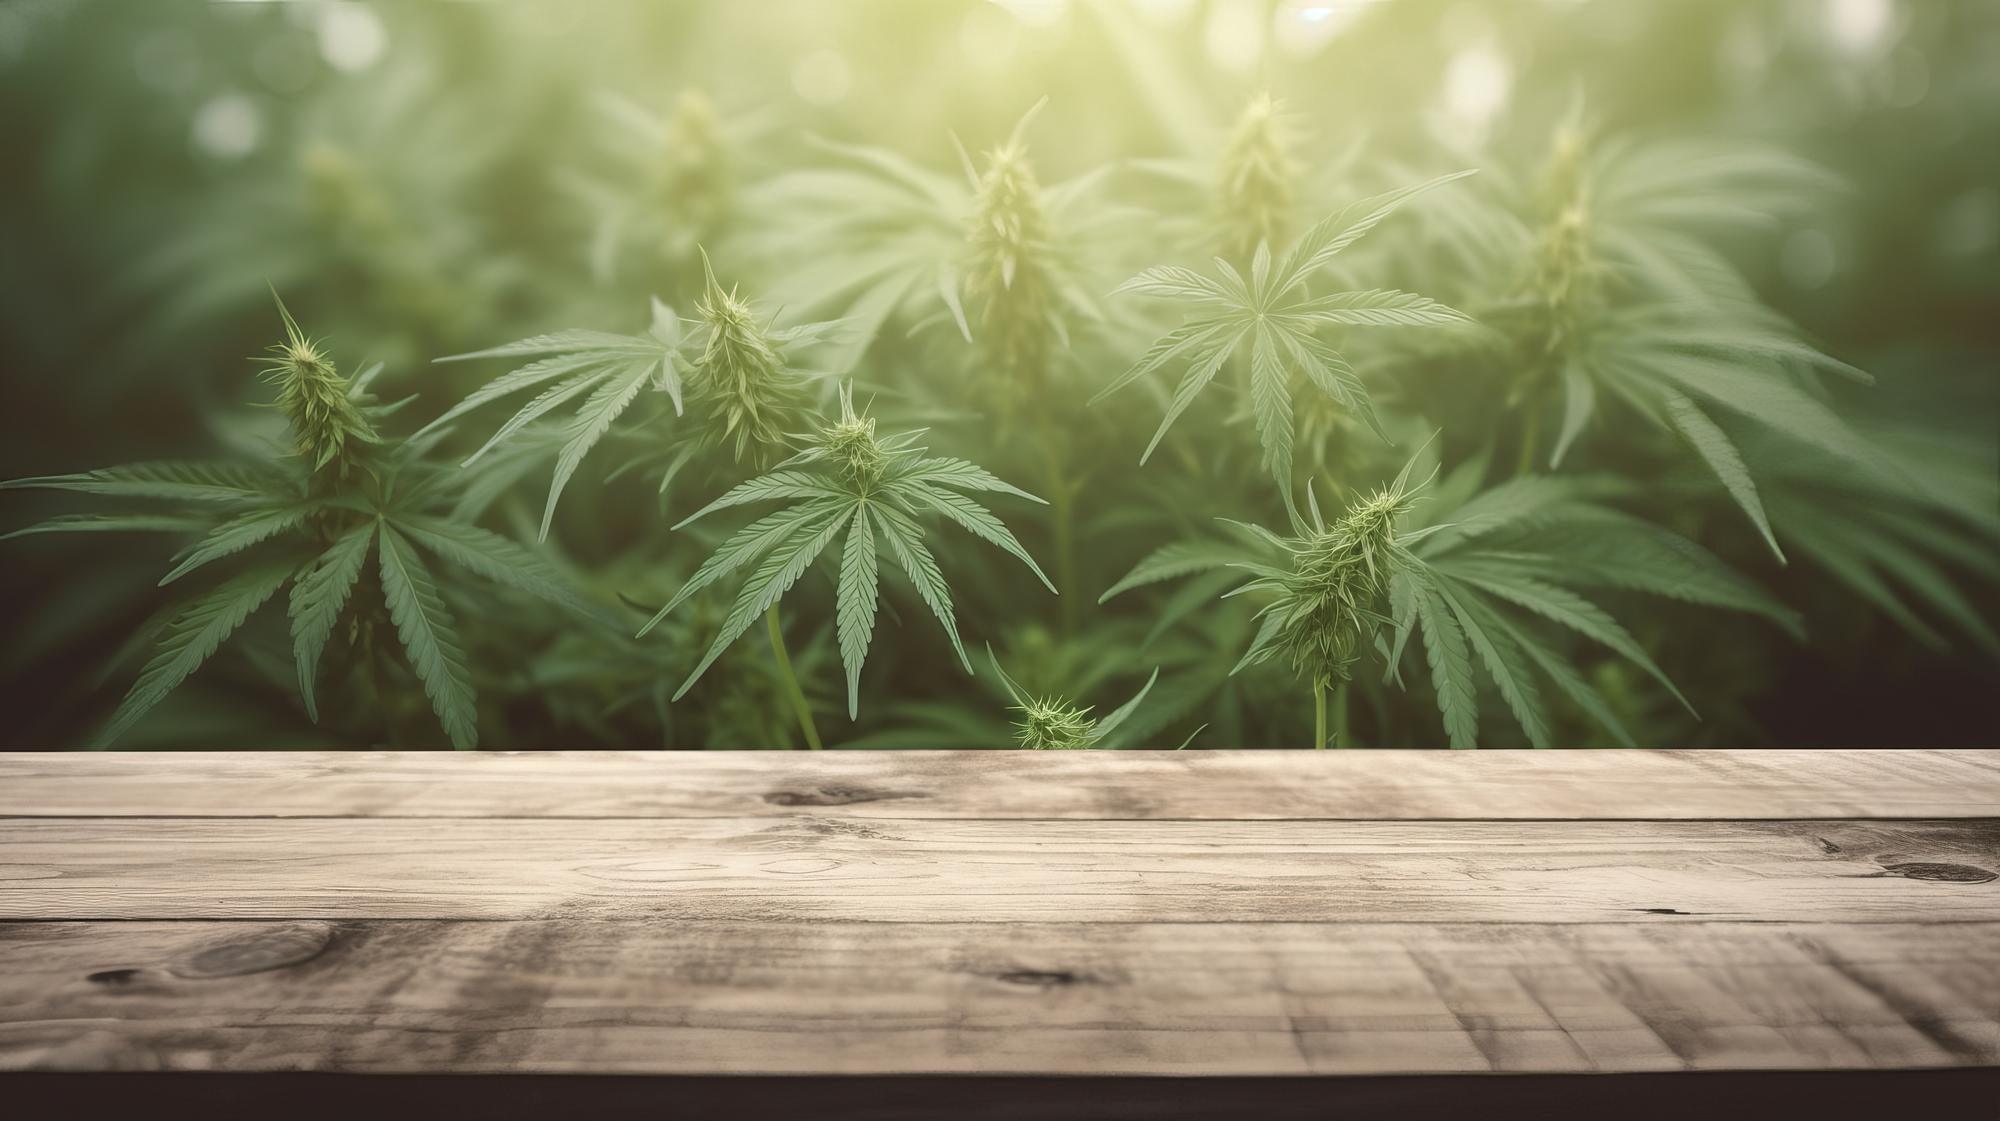
Cannabis indoor lighting: optimal light for top yields
Inhaltsverzeichnis
Trends of the week

Lucky Hemp
Harvest scissors - Trafika
Sale price€8,42
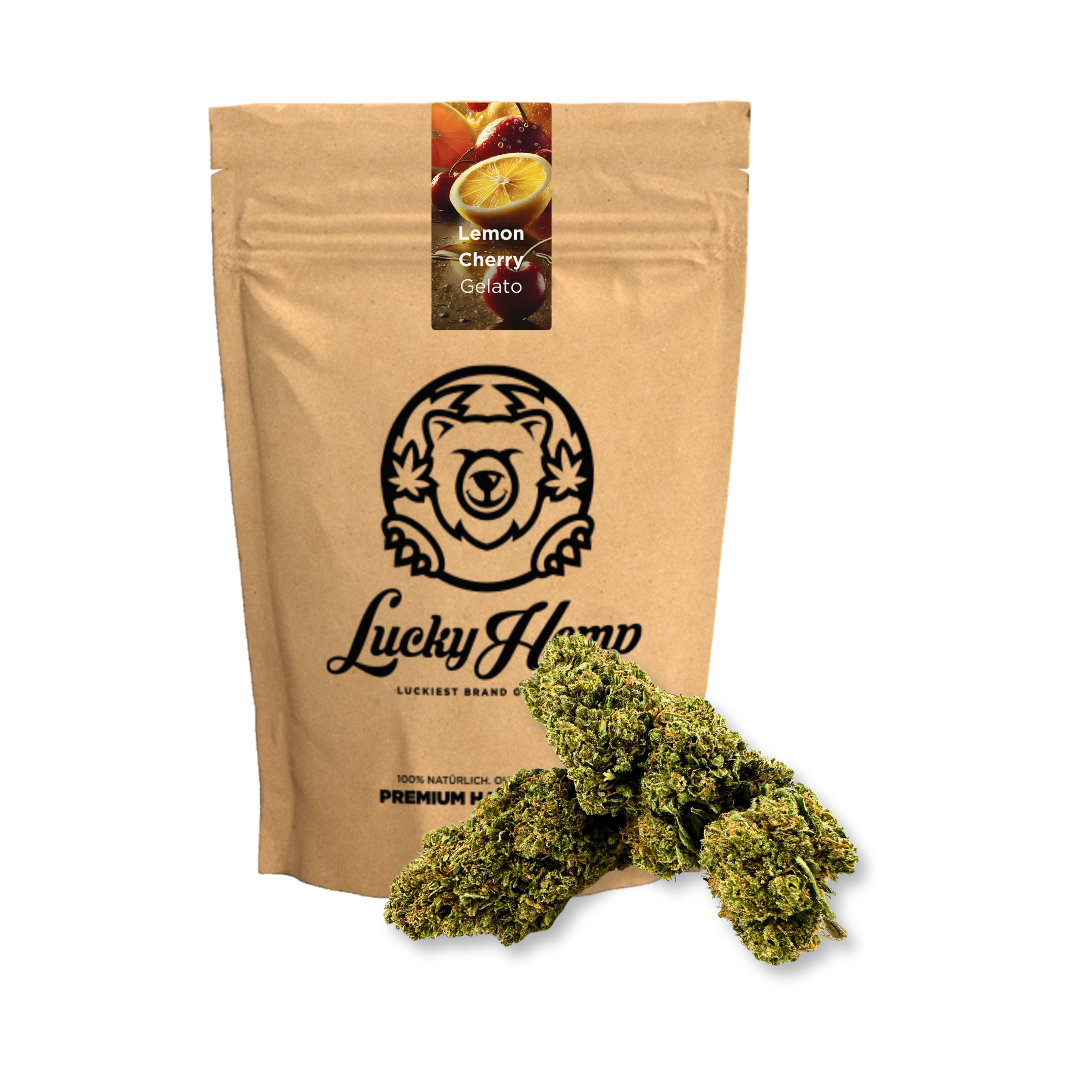

Lucky Hemp
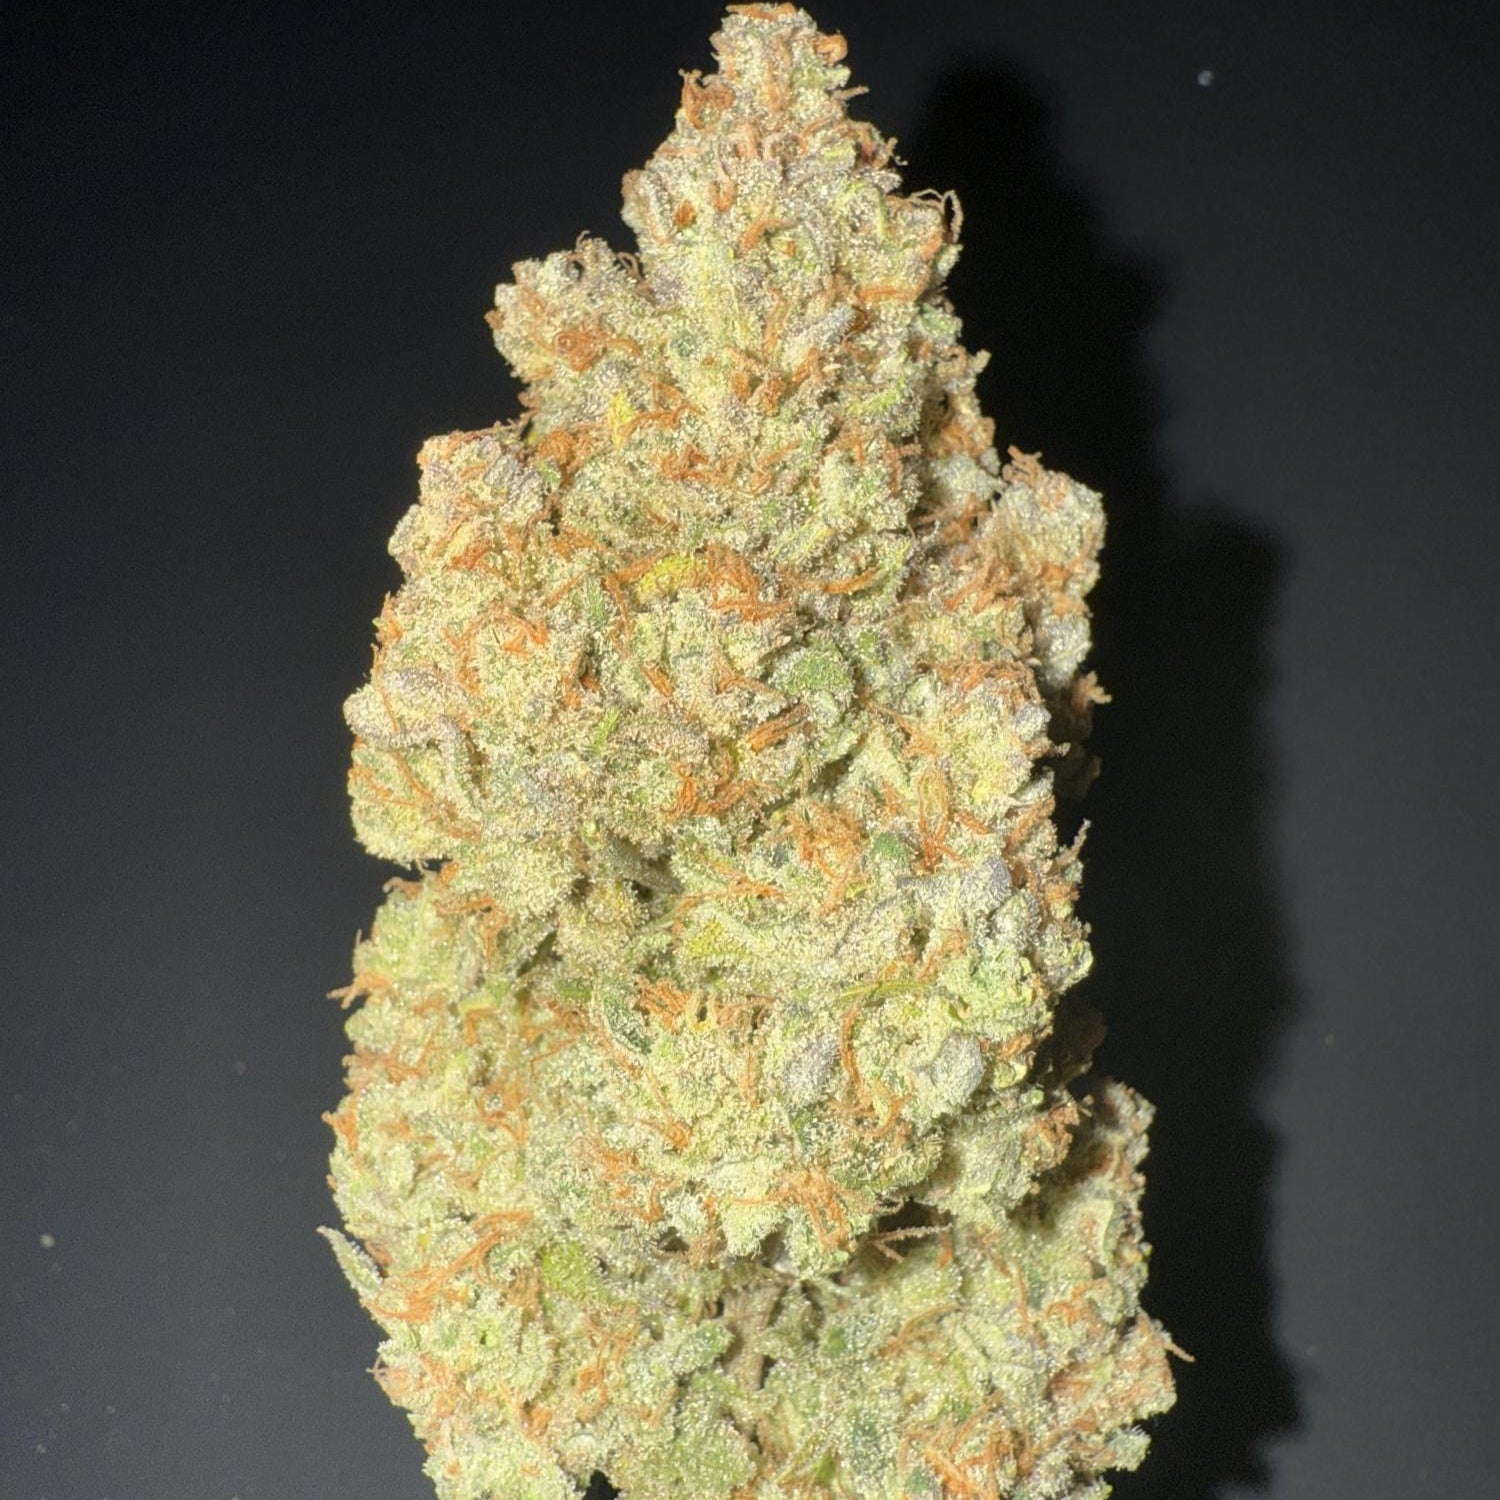
Lemon Cherry Gelato Eco Pack - 25g
Sale price€105,00

Lucky Hemp
Lemon Cherry Gelato Eco Pack - 5g
Sale price€29,90


Lucky Hemp
Lemon Cherry Gelato Eco Pack - 10g
Sale price€49,90

Lucky Hemp
Apple Fritter Seeds Automatic - 3 Seeds (+2 Free)
Sale price€29,90
Lucky Hemp
Apple Fritter Seeds Automatic - 1 seed
Sale price€12,90

Lucky Hemp
Hardcore OG seeds automatic - 1 seed
Sale price€12,90
Lucky Hemp
Hardcore OG Seeds Automatic - 3 Seeds (+2 Free)
Sale price€29,90

Lucky Hemp
Amnesia seeds automatic - 3 seeds (+2 free)
Sale price€29,90

Lucky Hemp
Amnesia seeds automatic - 1 seed
Sale price€12,90

Blog posts

Terpene verstehen: Wie Aromen und Geschmacksstoffe das THC-Dampferlebnis beeinflussen
Hast du schon einmal an einem frischen Zweig Rosmarin gerochen? Der würzige Duft hat doch sicher auch bei dir sofort bestimmte Assoziationen ausgelöst, vielleicht an ein mediterranes Gericht oder e...

Discover how to purchase cannabis safely and responsibly in a regulated market. Learn more about the variety of products, quality standards and the legal purchase of cannabis.
Our partners