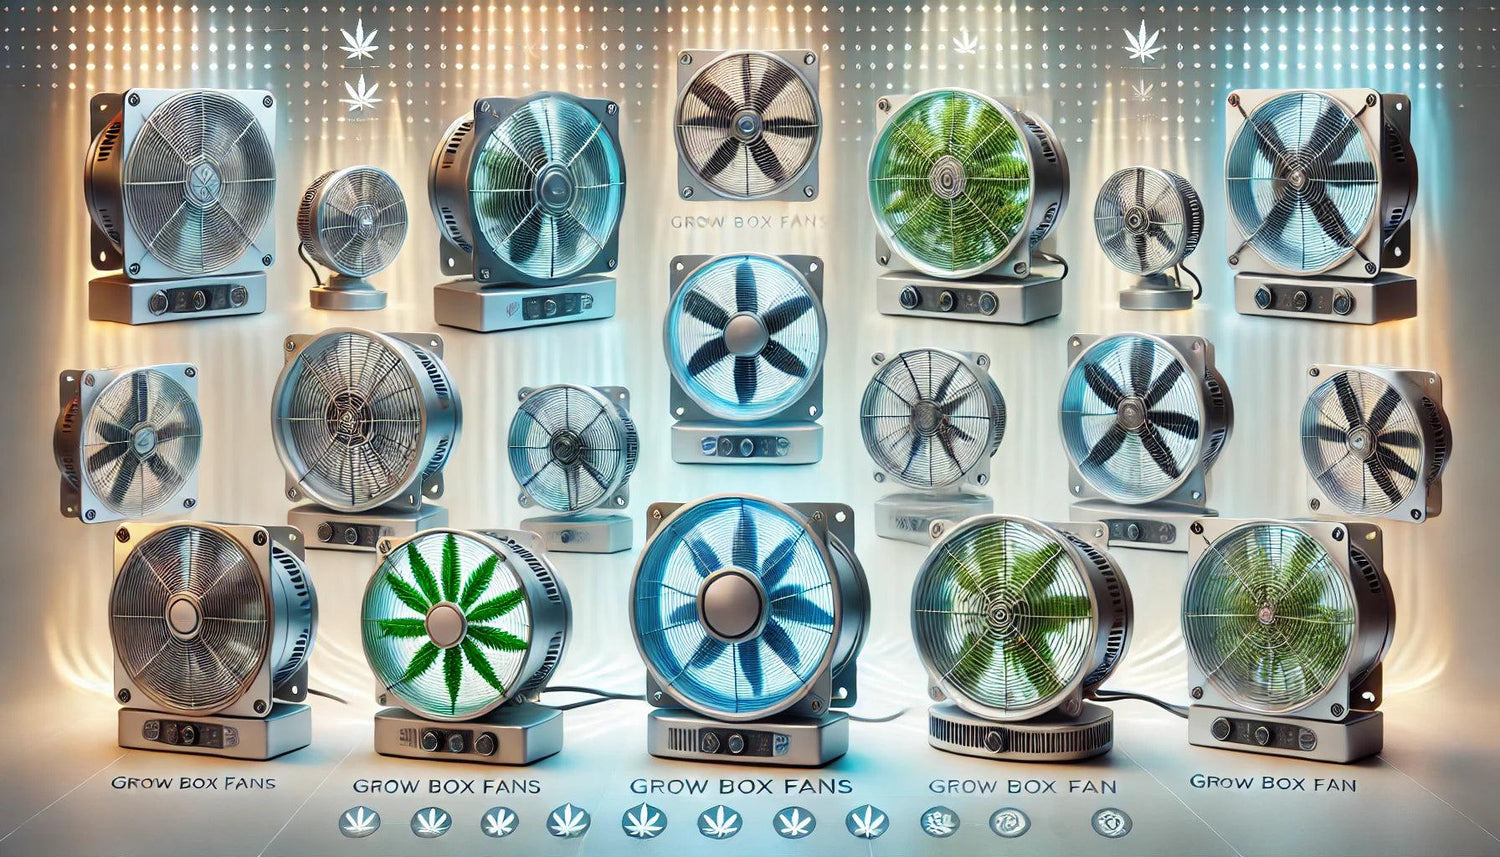
The power of proper ventilation: Why your cannabis grow needs a top fan
Do you dream of lush, aromatic cannabis plants? Then optimal ventilation is the key to success! A high-quality grow box fan is not just a nice extra, but the heart of your setup. Let's take a look at why the right ventilation is so crucial for your grow.
Fresh air = healthy plants
Your cannabis plants breathe just like you. They absorb CO2 and release oxygen. A continuous exchange of air ensures that your green darlings always have enough "food" in the form of CO2. Studies show that an optimal CO2 supply can increase yields by up to 30%!
Temperature and humidity under control
A good fan will help you create the perfect climate in your grow box. It regulates the temperature and prevents heat build-up that could stress your plants. At the same time, it keeps the humidity in check - too much moisture can lead to mold and rot.
Stronger plants through gentle movement
The gentle airflow of a fan simulates natural wind. This may sound banal, but it is a game changer! This gentle movement strengthens the stems of your cannabis plants and makes them more robust. The result? Stronger plants that can bear more weight - and that means more yield for you!
Odor control made easy
Cannabis smells wonderful - but not everyone around you may share this opinion. A good fan, combined with an activated carbon filter, will help you control the characteristic smell and keep your grow project discreet.
Investing in a high-quality grow box fan pays off in many ways: healthier plants, higher yields and a more trouble-free growing experience. In the next sections, we'll show you how to find the perfect fan for your needs and how to use it optimally. Stay tuned - your dream grow is within reach!
Growbox fans in comparison: Find the perfect model for your needs
Now that you know how important a good fan is for your cannabis grow, the question is: which one is right for you? Don't worry, we'll help you decide. Let's take a look at the most common types and their advantages and disadvantages.
Axial fan: The all-rounder
Axial fans are the most commonly used models in grow tents. They are affordable, easy to install and effective for small to medium setups.
- Advantages: Cheap, quiet, high air flow
- Disadvantages: Less pressure, not ideal for long airways
Radial fan: The powerhouse
Radial fans, also called centrifugal fans, are the powerhouse option. They produce strong airflow and are particularly suitable for larger setups or if you have long ductwork.
- Advantages: High pressure, ideal for complex setups
- Disadvantages: More expensive, often louder than axial fans
EC fans: The efficient choice
EC fans (Electronically Commutated) are the high-tech option. They offer excellent performance with low energy consumption and are particularly quiet.
- Advantages: Energy efficient, very quiet, precisely controllable
- Disadvantages: Higher purchase price
Comparison table of fan types
| Fan type | Price | volume | Efficiency | Ideal for |
|---|---|---|---|---|
| Axial | € | Medium | Good | Small to medium setups |
| Radial | €€ | High | Very good | Large setups, long ventilation paths |
| EC | €€€ | Low | Excellent | All setups, especially noise-sensitive environments |
When choosing your fan, you should also pay attention to the air exchange rate. As a rule of thumb, your fan should be able to exchange the entire air volume of your grow box at least once per minute. So calculate the volume of your box and choose a fan whose m³/h value corresponds to at least this volume.
Think about the future too: If you plan to expand your setup, it might be worth investing in a more powerful fan right from the start. That way, you'll be prepared for all eventualities.
With this information, you are well prepared to choose the perfect fan for your cannabis grow box. In the next section, we will show you how to optimally install and position your new fan. Stay tuned!
Professional setup: How to install and position your fan optimally
Now that you've chosen the perfect fan for your cannabis grow box, it's time to get down to the nitty-gritty: installation and positioning. With the right techniques, you'll get the most out of your setup. Let's go through step by step how to install your fan like a pro.
The right placement makes the difference
The position of your fan is crucial for effective air circulation. In general, warm air rises. Use this natural effect to your advantage.
- Exhaust: Place your main fan at the top of the grow box to exhaust warm air.
- Fresh air: Install a smaller fan or passive vent at the bottom of the box for fresh air.
- Internal circulation: Additional small fans inside the box ensure even air distribution.
Step-by-step installation instructions
- Mark the location for your fan, preferably at the top of the back wall of your grow box.
- Carefully cut a hole of the appropriate size. Use a template for a clean result.
- Fasten the fan with screws or special brackets. Pay attention to the correct air flow direction!
- Connect the fan to a flexible ventilation pipe to direct the exhaust air outside.
- If necessary, install an activated carbon filter between the fan and the pipe to control odors.
- Secure all connections with tape or hose clamps to prevent air leaks.
Professional tips for maximum efficiency
With these tricks you can get even more out of your fan setup:
- Use ventilation pipes with smooth interiors for less air resistance.
- Minimize bends in the vent pipes. Every bend reduces efficiency.
- Install a pre-filter before the main filter to extend its life.
- Use silencers or special mounts to reduce vibrations and noise.
Safety first
When installing your fan, you should consider some safety aspects:
- Make sure your electrical wiring can handle the additional load.
- Use a moisture protector if necessary, especially if your fan operates in a humid environment.
- Regularly check all connections and fastenings for safety and tightness.
With these steps and tips, you will have installed and positioned your grow box fan like a pro. Optimal air circulation is the key to healthy, strong cannabis plants and maximum yield. In the next section, we'll show you how to cleverly control and automate your fan to optimize your growing experience even further. Stay tuned!
Fan control made easy: Automate your climate for maximum yield
Optimal fan control is the key to a perfect growing climate. With the right techniques and tools, you can automate your ventilation and maximize the yield of your cannabis plants. Let's dive into the world of smart fan control!
Why automation is important
Automated fan control offers you several advantages:
- Constant climate: keeps temperature and humidity stable
- Energy efficiency: fans only run when necessary
- Time saving: Less manual intervention required
- Stress reduction for plants: Avoids sudden climate fluctuations
Basic control options
There are different ways to control your grow box fan. Here are the most common methods:
1. Simple timers
Ideal for beginners. Turns the fan on and off at set times. Inexpensive but less flexible.
2. Thermostats
Turn the fan on or off based on temperature. Good for basic temperature control.
3. Hygrostats
Similar to thermostats, but they react to the humidity. Important for mold prevention.
4. Speed controller
Allows continuous adjustment of the fan speed. Ideal for fine-tuning your setup.
Advanced control systems
For grow enthusiasts who want to get the most out of it:
1. Climate computer
All-in-one solutions that monitor and control temperature, humidity and even CO2 levels. Expensive, but very effective.
2. Smart Home Systems
Integrate your Grow into your smart home. Control and monitoring possible via smartphone app.
3. DIY solutions with microcontrollers
For hobbyists: Build your own controller with Arduino or Raspberry Pi. Maximum flexibility, but requires technical know-how.
Optimal settings for maximum yield
Here are some guidelines for your fan control:
| Growth phase | temperature | humidity | Fan setting |
|---|---|---|---|
| seedling | 20-25°C | 65-70% | Low |
| Vegetative phase | 22-28°C | 50-70% | Medium |
| Flowering phase | 20-26°C | 40-50% | High |
Note that these values are a guideline. Adjust them to your specific strain and grow box environment.
Pro tip: Night-time reduction
Implement a night-time reduction in your fan control. Reduce the fan speed by 20-30% at night. This saves energy and imitates natural conditions, which benefits the plants.
With a well-configured, automated fan control, you can create optimal conditions for your cannabis plants. You'll save time, energy and increase your yield. In the next section, we'll show you how to solve common ventilation problems like an expert. Stay tuned!
Troubleshooting: Solve common ventilation problems like an expert
Even with the best setup, problems can occasionally arise. Don't worry! With the right knowledge and tricks, you can quickly and effectively solve the most common ventilation problems in your cannabis grow tent. Let's go through the typical challenges and their solutions.
Problem 1: Too high temperature
Overheating can severely affect the growth of your plants.
Possible causes:
- Insufficient fan performance
- Blocked air supply
- Too much lighting
Solutions:
- Check and clean ventilation openings
- Increase the fan speed or install a more powerful fan
- Consider installing air conditioning for extreme cases
Problem 2: Too high humidity
Excessive moisture can lead to mold growth.
Possible causes:
- Insufficient air circulation
- Too much irrigation water
- Incorrect fan settings
Solutions:
- Increase the exhaust air rate
- Install a dehumidifier
- Check your watering habits
Problem 3: Loud fan noise
Disturbing noises can affect your growing experience.
Possible causes:
- Loose fasteners
- Dirty fan
- Wrong fan size
Solutions:
- Check and tighten all screws
- Clean the fan thoroughly
- Install silencers or switch to a quieter model
Problem 4: Uneven plant growth
If some plants thrive better than others, air circulation could be to blame.
Possible causes:
- "Dead zones" with poor air circulation
- Uneven air distribution
Solutions:
- Install additional circulation fans
- Optimize the placement of your plants
- Use air baffles for better distribution
Problem 5: Odor leakage
A common problem, especially with discreet grows.
Possible causes:
- Overloaded or ineffective activated carbon filter
- Air leaks in the grow box
Solutions:
- Replace the activated carbon filter regularly
- Check and seal all connections
- Consider using an ozone device (with caution!)
Proactive maintenance: the key to success
To avoid many of these problems in the first place, follow these maintenance tips:
- Clean your fans and filters monthly
- Check all connections and seals regularly
- Keep a grow diary to identify patterns and problems early
- Update your equipment when necessary – technology is constantly evolving
With these troubleshooting tips, you'll be well equipped to tackle the most common ventilation problems in your cannabis grow tent. Remember: a proactive approach and regular maintenance are the keys to a successful and problem-free grow. Happy Growing!


